Professional gel nail application involves meticulous preparation, precise product layering, and proper curing to ensure durability and a flawless finish. Achieving salon-quality gel nails necessitates mastering each step, from nail prep to top coat application.
Common gel nail application mistakes include improper nail preparation, over-flooding the cuticles, and inadequate curing, all of which lead to lifting or chipping. Avoiding these errors ensures long-lasting gel manicures.
Essential tools for gel nail application include a UV/LED lamp, gel polishes (base, color, and top coat), a nail file, buffer, cuticle pusher, and lint-free wipes. These implements ensure a smooth and professional application process.
Curious to master these techniques and avoid common pitfalls?
How Do Professionals Apply Gel Nails?
Professionals apply gel nails through a systematic, multi-step process that prioritizes nail health and product longevity. This detailed approach involves meticulous preparation and precise application of each gel layer, ensuring a durable and aesthetically pleasing finish. Mastering these techniques guarantees salon-quality results.
What Tools Are Essential for Professional Gel Nail Application?
Professional gel nail application necessitates a specific set of tools for optimal results and lasting finishes. These implements ensure each step, from preparation to curing, is executed with precision, leading to salon-quality manicures. The essential tools include a UV/LED lamp, nail files, buffers, cuticle pushers, and various brushes.
What Are the General Steps for Applying Gel Nails Professionally?
Professionals apply gel nails through a precise, multi-step process that ensures durability and a flawless finish. This systematic approach involves meticulous preparation and accurate application of each gel layer, leading to salon-quality manicures. The general steps focus on nail health and product longevity, beginning with thorough cleansing and shaping.
How Do You Prepare Nails for Gel Application?
Nails require thorough cleaning, precise shaping, and complete dehydration for optimal gel adhesion. This meticulous preparation ensures the gel polish adheres flawlessly and prevents lifting or chipping, laying the foundation for a long-lasting manicure. Proper nail preparation is crucial for achieving professional and durable gel nail results.
How Do You Apply Gel Base Coat Correctly?
Applying gel base coat correctly involves laying down a thin, even layer and ensuring complete curing under a UV/LED lamp. This foundational step establishes a strong bond between the natural nail and subsequent gel layers, preventing lifting and promoting longevity. Mastering base coat application is vital for durable, salon-quality gel manicures.
How Do You Apply Gel Color Polish Flawlessly?
Applying gel color polish flawlessly involves thin, even coats and precise curing to prevent common issues like streaking or chipping. This meticulous approach ensures a vibrant and durable finish, resulting in a professional and long-lasting manicure. Proper application techniques are crucial for achieving salon-quality results with gel color polish.
Achieving even color application requires careful attention to detail. Apply gel color in two to three thin layers, ensuring each coat is fully cured under a UV/LED lamp according to the manufacturer’s instructions. Overly thick layers or insufficient curing causes wrinkling, bubbling, or premature peeling. Maintain a small gap around the cuticles and sidewalls to avoid flooding, which causes lifting.
What Is the Correct Way to Apply a Gel Top Coat?
Applying a gel top coat correctly involves laying a thin, even layer and ensuring thorough curing under a UV/LED lamp to achieve maximum shine and durability. This final step seals the gel manicure, creating a protective barrier against chipping and enhancing the overall finish. Proper top coat application is crucial for long-lasting, professional-looking gel nails.
How Do You Cure Gel Nails Effectively?
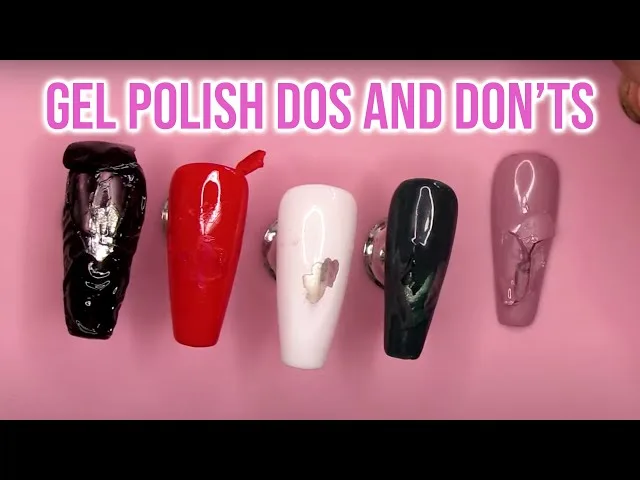
Effective gel nail curing involves understanding UV/LED lamp technology, adhering to specific curing times, and avoiding common application mistakes. This process guarantees each gel layer fully hardens, preventing premature chipping or lifting. Proper curing is crucial for achieving professional, long-lasting gel manicures that maintain their shine and integrity.
What Are Common Gel Nail Application Mistakes and How Can They Be Avoided?
Common gel nail application mistakes include improper nail preparation, over-flooding cuticles, and inadequate curing, all of which lead to lifting or chipping. Identifying frequent errors during gel application and providing solutions ensures a durable and aesthetically pleasing finish. Avoiding these pitfalls guarantees professional and long-lasting gel manicures.
What Are the Most Common Gel Nail Application Errors?
The most common gel nail application errors include chipping, lifting, uneven application, and bubbling. Identifying frequent issues during gel application and providing solutions ensures a durable and aesthetically pleasing finish. Avoiding these pitfalls is crucial for achieving professional and long-lasting gel manicures. Chipping typically stems from improper nail preparation or insufficient top coat sealing. Lifting is due to product flooding the cuticles or inadequate curing of the base coat. Uneven application results from overly thick layers or poor brush control, while bubbling often signifies improper gel stirring or rapid lamp insertion.
How Can You Prevent Gel Nails from Chipping or Lifting?

Preventing gel nails from chipping or lifting involves meticulous nail preparation, precise application techniques, and proper curing protocols. Adhering to these professional standards guarantees a durable and long-lasting manicure. Correcting common application errors significantly elevates the longevity and adhesion of gel nails. This systematic approach reduces the risk of premature damage, maintaining a flawless finish for an extended period.
How Can You Avoid Uneven or Streaky Gel Nail Application?
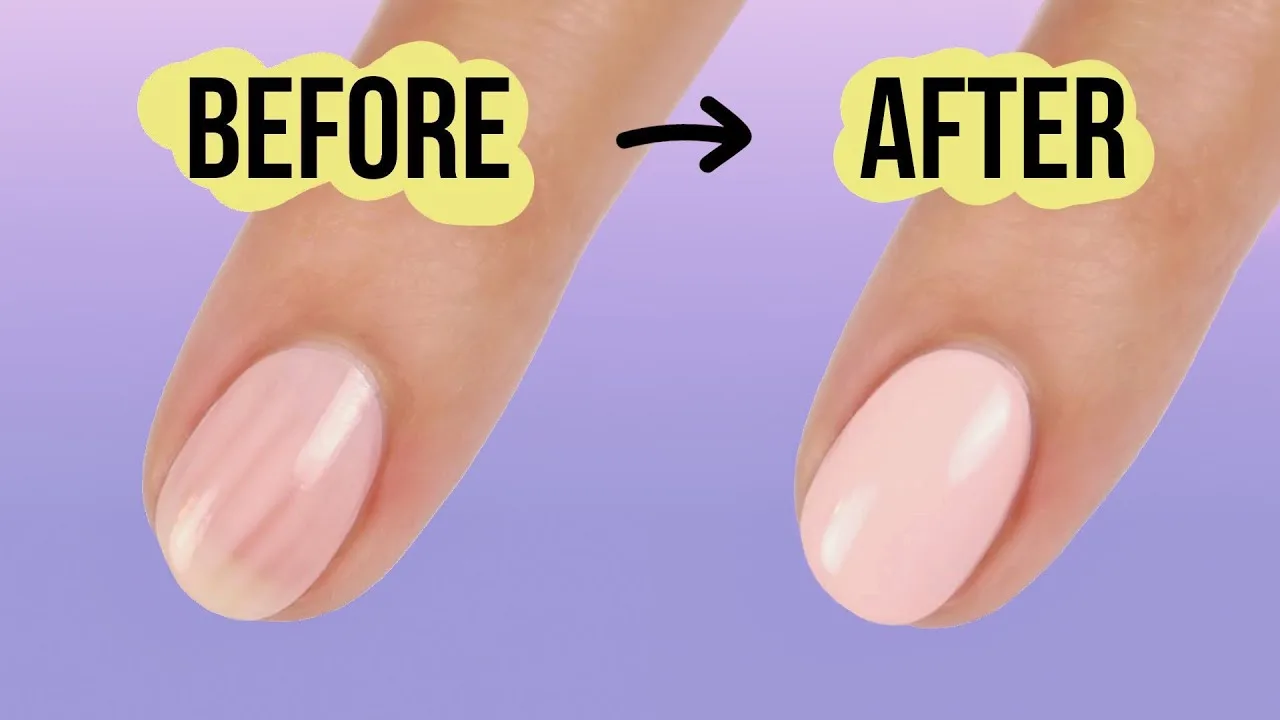
Avoiding uneven or streaky gel nail application requires meticulous nail preparation and precise layering techniques. This systematic approach guarantees a smooth and consistent color finish, preventing common aesthetic flaws. Proper brush control and thin coats ensure a professional and flawless result. Achieving perfect gel polish application relies on careful attention to detail at each stage. Apply gel in thin, even layers, ensuring each coat is fully cured under a UV/LED lamp according to the manufacturer’s instructions. Overly thick layers or insufficient curing cause wrinkling, bubbling, or premature peeling. Maintain a small gap around the cuticles and sidewalls to avoid flooding, which leads to lifting.
What Causes Gel Nail Bubbles and How Can They Be Prevented?
Gel nail bubbles arise from improper application techniques or product issues, and preventing them involves meticulous preparation and careful handling. These bubbles compromise the finish and durability of gel manicures, highlighting the importance of precise application. Addressing the root causes of bubbles ensures a smooth, long-lasting result. Bubbles often result from vigorous shaking of the gel polish bottle, which introduces air, or applying overly thick layers that trap air during curing. Insufficient mixing of the gel can also lead to air pockets, as can applying gel polish to a nail surface that is not completely clean and dry.
What Are the Differences Between Professional and At-Home Gel Nail Application Products?
Professional and at-home gel nail application differ significantly in the types of products, tools, and formulations used, impacting overall durability and finish. These distinctions highlight the varied standards and intended results between salon-grade and consumer-friendly options. Understanding these differences is crucial for selecting appropriate products and achieving desired manicure outcomes.
How Do Professional Gel Formulas Differ from Consumer-Grade Products?
Professional gel formulas differ from consumer-grade products in their superior quality, enhanced longevity, and varied ease of use. These distinctions highlight the specialized formulations and intended applications for each product type. Understanding these differences is crucial for achieving optimal results and ensuring client satisfaction in a salon setting. Professional gels prioritize durability and a flawless finish, while at-home options focus on user-friendliness.
Are There Specific Professional-Grade Tools Recommended for Home Use?
Yes, specific professional-grade tools are recommended for home use to enhance durability and finish. These tools offer superior precision and efficiency compared to standard consumer-grade options. Utilizing professional equipment allows for salon-quality results and a more refined application experience. Investing in these specialized tools ultimately improves the longevity and aesthetic appeal of at-home gel manicures.
Conclusion
Mastering gel nail application, whether at home or in a salon, relies on meticulous preparation, precise layering of base, color, and top coats, and effective curing with a UV/LED lamp. By understanding the essential tools, following systematic steps, and actively avoiding common mistakes like improper nail prep or over-flooding cuticles, you can achieve durable, salon-quality gel manicures that maintain their flawless finish and longevity. This comprehensive approach ensures a professional result, transforming your nail care routine.