Applying Gel-X nails at home involves preparing your natural nails, selecting the correct tip size, and adhering the extension with gel and a UV/LED lamp. This guide provides a simple, step-by-step process for beginners. For a beginner-friendly Gel-X tutorial, you will learn essential techniques like proper nail prep, tip application, and curing to ensure a lasting manicure. Achieving salon-quality results at home is attainable with the right approach. To successfully apply Gel-X nails at home, you need Gel-X tips, pH bonder, primer, extend gel, a UV/LED lamp, and a nail file. These tools are fundamental for a complete application. Before diving into the application process, let’s explore what Gel-X nails are and discover the essential items you’ll need.
What are Gel-X nails?
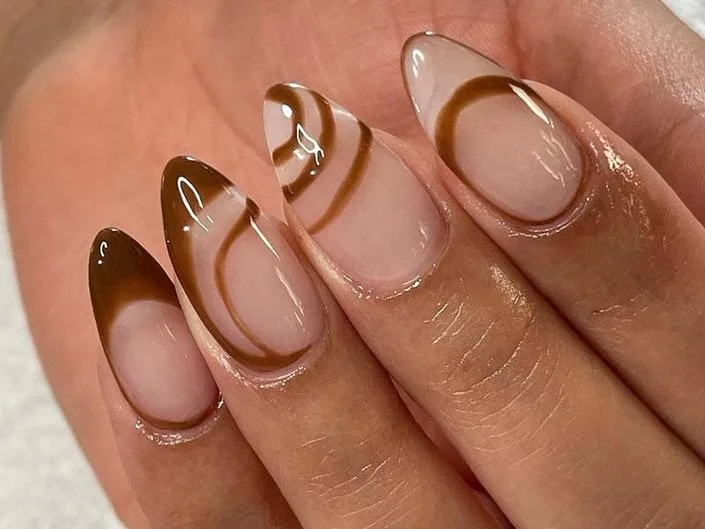
Gel-X nails are a type of soft gel nail extension that offers a lightweight and flexible alternative to traditional acrylics or hard gel systems. This innovative system provides a full-coverage tip that adheres to the natural nail using a specialized gel. What sets Gel-X apart is its soak-off removal process, minimizing damage to the natural nail. Unlike acrylics, Gel-X does not involve strong odors or extensive filing, and it provides a more natural feel compared to rigid hard gels.
What do you need for Gel-X nails?
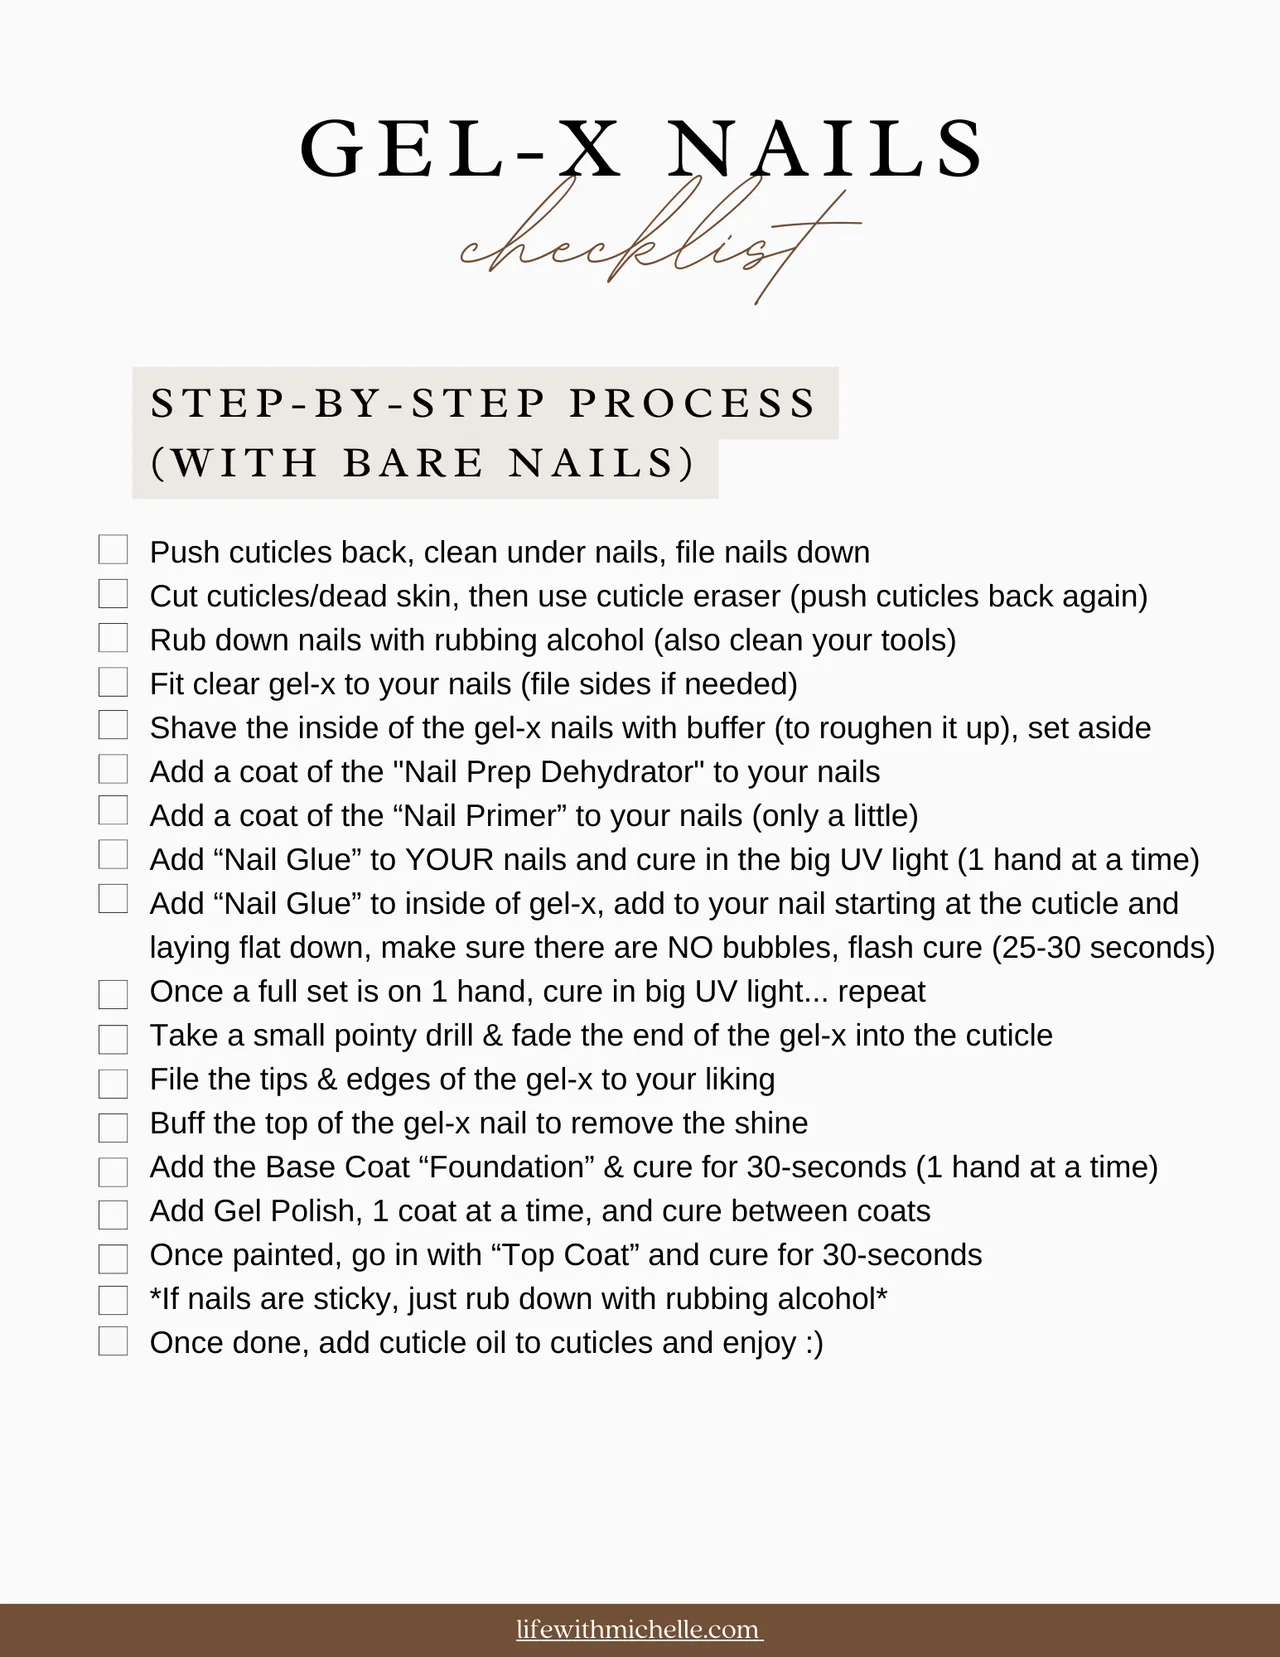
For Gel-X nails, you need essential tools and products including Gel-X tips, pH bonder, primer, extend gel, a UV/LED lamp, and a nail file. These items form the core kit for a successful at-home application. To achieve a professional finish, a comprehensive set of supplies is crucial. This includes various specialized gels and tools designed for the Gel-X system. Gathering all necessary components ensures each step of the application process proceeds smoothly and correctly.
How to apply Gel-X nails step-by-step?
Applying Gel-X nails involves a detailed, multi-step process for proper adhesion and longevity, including meticulous nail preparation, precise tip application, and thorough curing. This systematic approach ensures a durable and aesthetically pleasing finish. Successfully applying Gel-X nails requires careful attention to each stage, from shaping the natural nail to the final top coat. Following these steps secures the extension and promotes a lasting manicure.
The application process for Gel-X nails breaks down into several key stages, ensuring both the beauty and durability of your at-home manicure.
- Nail Preparation
Proper nail preparation establishes a clean, receptive surface for Gel-X application, extending wear time and preventing lifting. This initial phase includes shaping, buffing, and cuticle care. Begin by filing natural nails to a desired shape and gently pushing back or trimming cuticles. Lightly buffing the nail plate removes shine and creates a rough texture, which improves gel adhesion. After buffing, thoroughly cleanse nails with rubbing alcohol to eliminate dust and oils, crucial for optimal bonding.
- Tip Sizing and Application
Selecting the correct Gel-X tip size and applying it with precision ensures a seamless, natural look and strong adhesion. This step focuses on fit and proper gel placement. Choose tips that perfectly cover the natural nail from sidewall to sidewall without gapping or overlapping. Apply a thin, even layer of pH bonder, followed by a primer, to the natural nail. Then, brush a small amount of extend gel onto the contact area of the Gel-X tip. Press the tip onto the natural nail, starting from the cuticle area and gently rolling it forward to prevent air bubbles. Cure each nail under a UV/LED lamp according to product instructions.
- Curing and Finishing
Thorough curing and meticulous finishing steps seal the Gel-X application, providing strength, shine, and a professional appearance. This final stage secures the gel and refines the nail’s surface. After applying and curing all tips, use a nail file to gently shape the free edge and buff the surface for smoothness, if necessary. Apply a top coat over the entire Gel-X nail, ensuring full coverage, and cure it one last time under the UV/LED lamp. Finally, wipe the nails with an alcohol wipe to remove any tacky residue, revealing a glossy, finished manicure.
How to choose the right Gel-X nail size and shape?
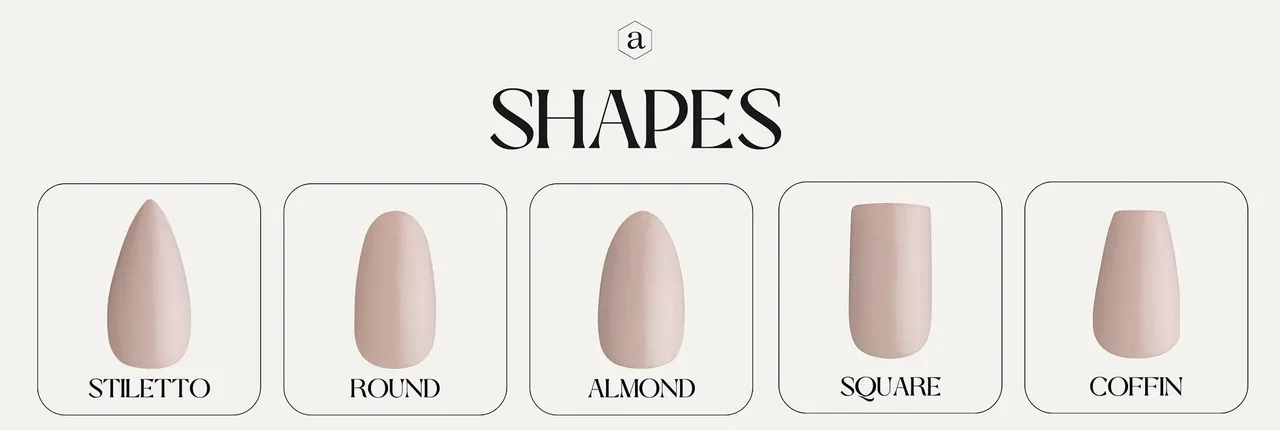
Selecting the appropriate Gel-X tip size and shape ensures a natural aesthetic and strong adhesion for your at-home manicure. This involves matching the tip to your natural nail dimensions and considering various styles. Proper sizing prevents lifting and creates a seamless blend with your natural nail.Gel-X tips come in various shapes and lengths, including square, coffin, almond, and stiletto, allowing for diverse style choices. To choose the correct size, measure each natural nail’s width from sidewall to sidewall and select a tip that covers the entire nail plate without overhang or gaps. When applying, a well-fitted tip minimizes the need for extensive filing and shaping, maintaining the integrity of the Gel-X system.
How to troubleshoot common Gel-X application issues?
Addressing common Gel-X application issues like lifting, bubbles, or improper curing ensures a flawless and long-lasting manicure. Troubleshooting these problems involves specific adjustments to technique and product application. Effective solutions mitigate common setbacks, leading to a more successful at-home Gel-X experience. For instance, lifting often results from inadequate nail preparation or improper tip fit. Bubbles typically occur due to incorrect gel application or pressure during placement. Improper curing stems from insufficient lamp time or incorrect lamp usage. Correcting these issues enhances the durability and appearance of Gel-X nails.
Conclusion
Applying Gel-X nails at home is an accessible process that allows beginners to achieve salon-quality results with the right tools and techniques. This guide has detailed the essential steps, from meticulous nail preparation and precise tip application to thorough curing and finishing. By understanding how to choose the correct tip size and troubleshoot common issues like lifting or bubbles, you can ensure a durable and aesthetically pleasing manicure. With practice, mastering Gel-X application will provide a lightweight, flexible, and long-lasting alternative to traditional nail enhancements.