Removing gel nails at home can be simple and safe with this detailed guide. This article from Profile The Chain of Salons outlines a step-by-step approach to safely remove your gel manicure. Learn how to easily remove gel nails and protect your natural nails from damage. We will also discuss the best methods for removal. This guide will walk you through the process.
How to Take Off Gel Nails at Home: A Step-by-Step Guide
Removing gel nails at home involves a series of sequential steps using standard methods to safely and effectively dissolve the gel manicure. This detailed process ensures minimal damage to your natural nails while achieving a clean removal. Following these steps precisely helps maintain nail health and integrity, preventing breakage or weakening.
How to Prepare Your Nails and Workspace for Gel Removal?

To prepare your nails and workspace for gel removal, file and buff your nails, protect your skin, and set up your area to ensure a smooth, damage-free process. This preparation minimizes potential harm to your natural nails and simplifies the subsequent steps of gel dissolution. Proper readiness prevents mess and ensures all necessary tools are at hand for efficient removal. To effectively prepare for gel nail removal, begin by gently filing down the top coat of the gel to break the seal. Following this, lightly buff the nail surface to create a porous texture, allowing the acetone to penetrate more easily. Protect the surrounding skin by applying a generous layer of cuticle oil or petroleum jelly to prevent dryness and irritation from the acetone. Finally, arrange your workspace with all materials—cotton balls, foil, acetone, and a nail file—within easy reach, ensuring proper ventilation in the area.
How to Remove Gel Nails with Acetone Wraps?
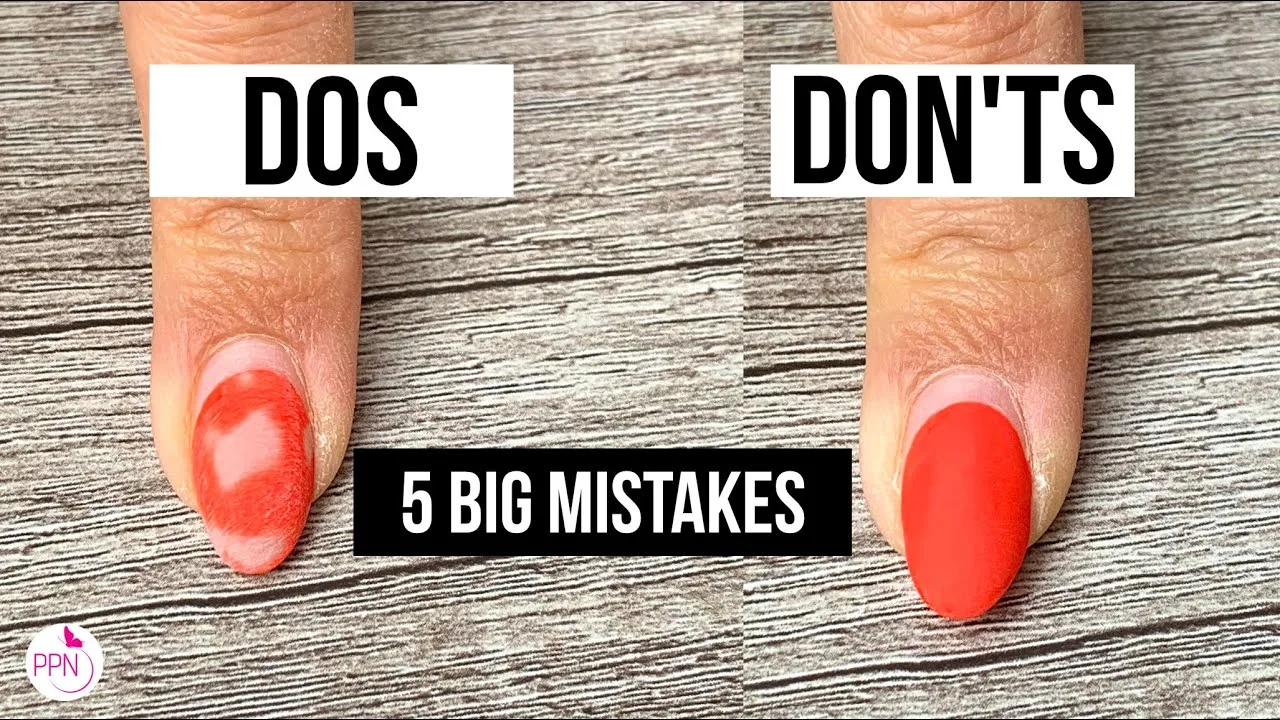
To remove gel nails with acetone wraps, saturate cotton pads with acetone, place them on each nail, and secure them tightly with aluminum foil or specialized clips. This method effectively breaks down the gel, allowing for gentle removal. Properly applying acetone wraps ensures direct contact with the gel, maximizing its dissolving action while minimizing exposure to surrounding skin.
The process involves several steps to achieve clean and safe gel nail removal at home. Begin by tearing cotton pads into pieces sized to fit each nail, then thoroughly soak them in 100% pure acetone. Place one saturated cotton pad directly onto each gel nail, ensuring full coverage. Firmly wrap each nail with a small piece of aluminum foil or use gel nail removal clips to hold the cotton pad in place, creating a sealed environment for the acetone to work. Allow the nails to soak for 10 minutes after filing down the color coat, then gently check if the gel has lifted or softened.
How to Gently Scrape Off Loosened Gel Polish?
To gently scrape off loosened gel polish, position a cuticle pusher at a slight angle and apply steady, light pressure to lift the softened gel away from the natural nail. This technique minimizes damage and ensures a smooth removal process. Carefully pushing off loosened gel polish with a cuticle pusher avoids harming the natural nail underneath. Begin by positioning the flat edge of a metal or wooden cuticle pusher at the base of the nail, near the cuticle. Gently push the softened gel forward, away from the cuticle and towards the free edge, using short, controlled strokes. Avoid digging into the nail plate or applying excessive force, which can scratch or weaken the natural nail. If any gel remains stubborn, re-soak the nail in acetone for a few more minutes before attempting to scrape again.
How to Care for Your Nails After Gel Removal?

To care for your nails after gel removal, moisturize, buff, and strengthen them to restore their natural health and resilience. This post-removal care minimizes dryness and brittleness, ensuring your nails remain strong and smooth. Following proper steps helps prevent damage and promotes healthy regrowth after the gel manicure. Begin by applying a rich cuticle oil or moisturizer to rehydrate your nails and surrounding skin, as acetone can cause dryness. Gently buff the nail surface with a fine-grit buffer to smooth out any rough patches or minor ridges left from the removal process. Finally, incorporate a nail strengthener or hardener into your routine to fortify the nail plate and protect against breakage, promoting overall nail health.
What is the Easiest Way to Remove Gel Nails at Home?
The easiest way to remove gel nails at home involves soaking them in acetone. This effectively dissolves the gel for gentle removal and minimizes damage compared to peeling or filing.
To ensure efficiency and safety, focusing on the acetone soak process provides the most straightforward approach. This technique is widely recognized for its effectiveness in breaking down the gel’s bond to the natural nail.
How to Remove Gel Nails Without Damage to Your Natural Nails?
Removing gel nails without damage involves gentle methods and proper tools, primarily focusing on patient acetone soaking and avoiding forceful scraping or picking. This approach minimizes stress on the natural nail and prevents weakening or breakage. Proper preparation and aftercare also contribute to maintaining nail health. To effectively prevent damage during gel removal, ensure the top coat is adequately filed down to allow acetone penetration, then soak nails until the gel softens. Always use a wooden or metal cuticle pusher with light pressure to gently lift softened gel, never forcing or peeling it. Re-soak nails if the gel does not lift easily, rather than applying excessive force. Post-removal, deeply hydrate nails with cuticle oil and consider a strengthening treatment to restore moisture and integrity.
How to Remove Gel Nails Without Acetone?
Removing gel nails without acetone involves alternative methods like filing, peeling, or using steam to break down the gel, each with specific applications and considerations. These approaches cater to those sensitive to acetone or seeking gentler options, though they often require more care to prevent nail damage. Choosing an acetone-free method depends on the gel type and personal preference. To remove gel nails without acetone, one common method involves carefully filing down the gel layers using a coarse-grit nail file until only a thin layer remains, followed by buffing with a fine-grit buffer. Another option is using a peel-off base coat applied before the gel, allowing the gel manicure to be gently peeled away when ready for removal. Some advanced techniques use steam-based gel removers, which claim to loosen the gel polish through controlled heat and moisture. Each method has varying effectiveness and potential for nail damage, with filing requiring significant precision and peel-off bases being suitable for short-term wear.
What Are Common Mistakes to Avoid When Removing Gel Nails at Home?
When removing gel nails at home, avoid common mistakes such as improper filing, insufficient soaking, and forceful scraping. These errors compromise nail health. By avoiding these pitfalls, you ensure a safer, more effective removal process that preserves natural nail strength and prevents weakening, thinning, or breakage.
What Tools and Products are Essential for Safe At-Home Gel Nail Removal?
Essential tools and products for safe at-home gel nail removal include pure acetone, cotton balls, aluminum foil, a nail file, and a cuticle pusher. These items work synergistically to break down and gently remove gel polish without damaging the natural nail. Using the correct materials ensures the process is both efficient and gentle on your nails. To effectively remove gel nails, gather 100% pure acetone for dissolving the gel, cotton balls or pads to saturate with acetone, and aluminum foil or nail clips to secure the cotton. Additionally, a nail file helps to break the gel’s top seal, and a wooden or metal cuticle pusher is crucial for gently removing softened gel from the nail surface.
Conclusion
Mastering at-home gel nail removal is achievable by understanding the correct steps, primarily focusing on patient acetone soaking, proper preparation, and gentle scraping. This detailed guide ensures a safe process that minimizes damage to natural nails. By avoiding common mistakes and using essential tools, you can maintain nail health and integrity, making gel manicures an enjoyable and worry-free experience from application to removal.